
In the previous chapters in our Terraform journey we defined and created a magical vessel to hold our digital landscape, an Azure Resource Group.
That was followed by defining and creating a Virtual Network (VNET) and test Subnet.
This chapter we will focus on deploying a Network Security Group (NSG). A shield with the power to permit or deny network traffic. A corner stone your Azure defense strategy.
To learn more about NSG’s click the following link.
NSG Configuration
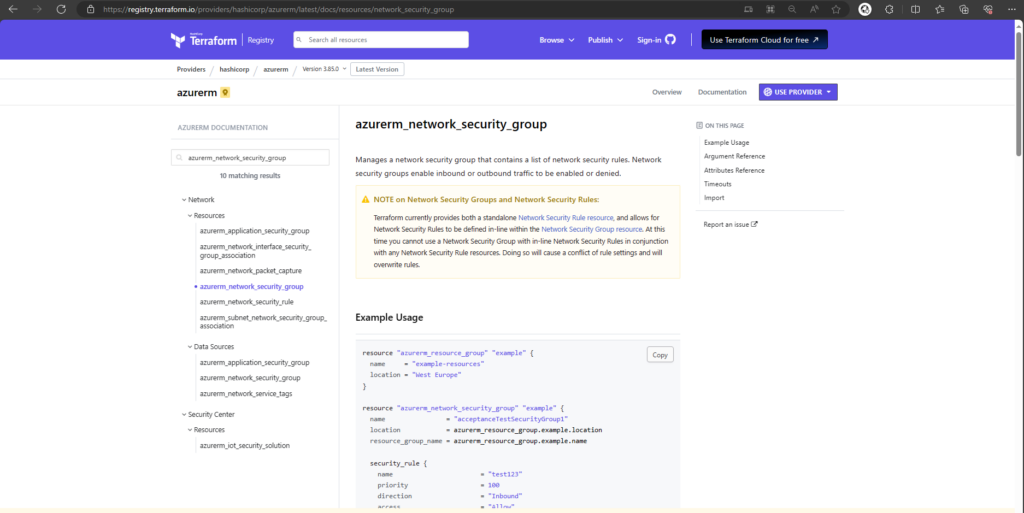
The Terraform documentation for creating a Azure Network Security Group is located here, provides example code and details required and optional arguments.
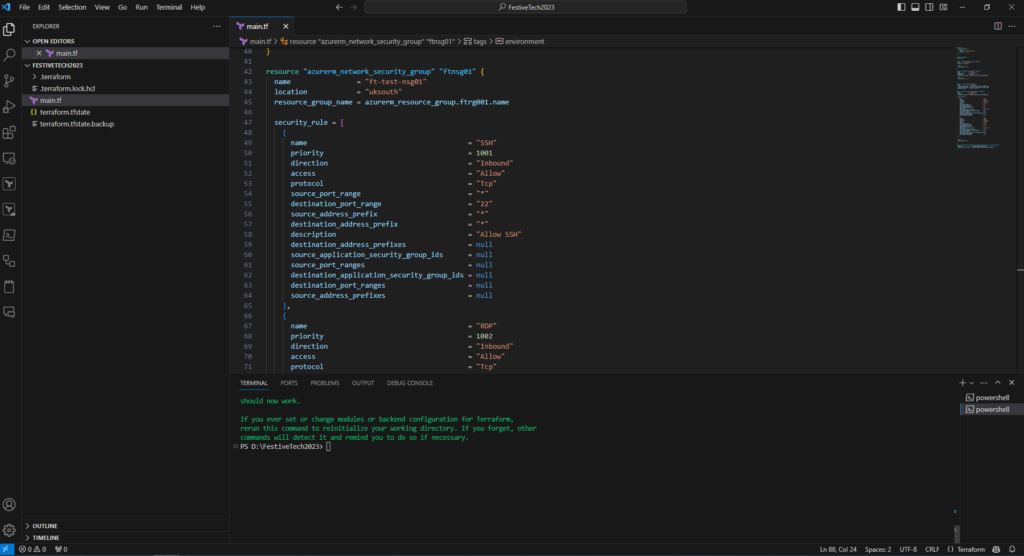
We will be using the following code to create our NSG
resource "azurerm_network_security_group" "ftnsg01" {
  name                = "ft-test-nsg01"
  location            = "uksouth"
  resource_group_name = azurerm_resource_group.ftrg001.name

  security_rule = [
    {
      name                                       = "SSH"
      priority                                   = 1001
      direction                                  = "Inbound"
      access                                     = "Allow"
      protocol                                   = "Tcp"
      source_port_range                          = "*"
      destination_port_range                     = "22"
      source_address_prefix                      = "*"
      destination_address_prefix                 = "*"
      description                                = "Allow SSH"
      destination_address_prefixes               = null
      source_application_security_group_ids      = null
      source_port_ranges                         = null
      destination_application_security_group_ids = null
      destination_port_ranges                    = null
      source_address_prefixes                    = null
    },
    {
      name                                       = "RDP"
      priority                                   = 1002
      direction                                  = "Inbound"
      access                                     = "Allow"
      protocol                                   = "Tcp"
      source_port_range                          = "*"
      destination_port_range                     = "3389"
      source_address_prefix                      = "*"
      destination_address_prefix                 = "*"
      description                                = "Allow RDP"
      destination_address_prefixes               = null
      source_application_security_group_ids      = null
      source_port_ranges                         = null
      destination_application_security_group_ids = null
      destination_port_ranges                    = null
      source_address_prefixes                    = null
    }
  ]


  tags = {
    environment = "dev"
  }
}
We are defining two rules. One to allow SSH and the other to allow RDP. If we take a closed look at the NSG rule,
- Name: name for the rule SSH
- Priority: a priority between 100 and 4096 needs to be defined
- Direction: Inbound/outbound – We have defined an inbound rule to allow SSH access to resources deployed within the subnet the NSG will be attached to
- Protocol: TCP/UDP
- Source Port Range: In our example we have defined all source port ranges by using the * symbol
- Destination Port Range: 22
The rules also allow access from all source addresses. This may not be sufficient for your environment. The rules need to be tailored to meet your security objectives. This is a test environment and the configuration will suffice for our learning journey.
NSG Association
To allow the NSG to wiled its magic it needs to be associated with a subnet or a network interface. In out example we will associated the NSG with the subnet we created in our previous blog post.
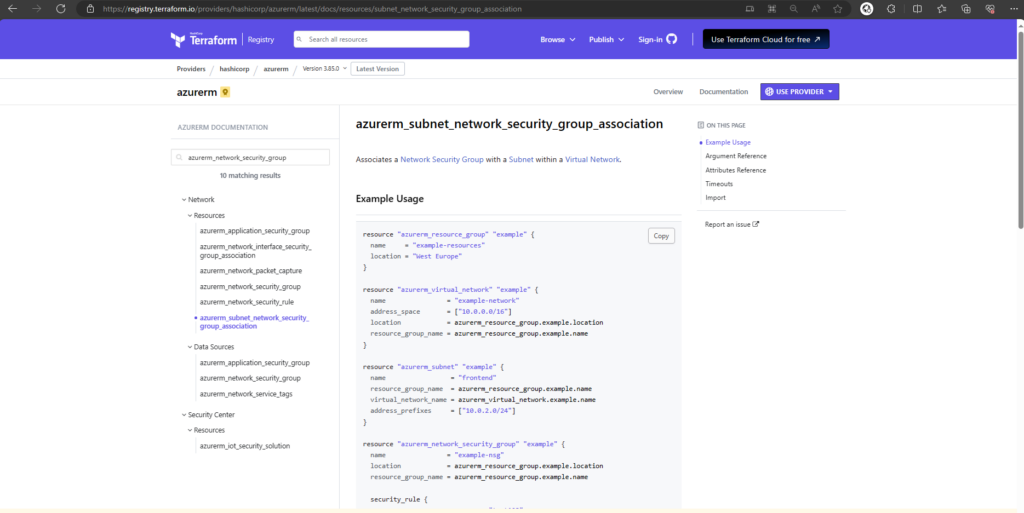
The Terraform documentation for associating an Network Security Group is located here, provides example code and details required and optional arguments.
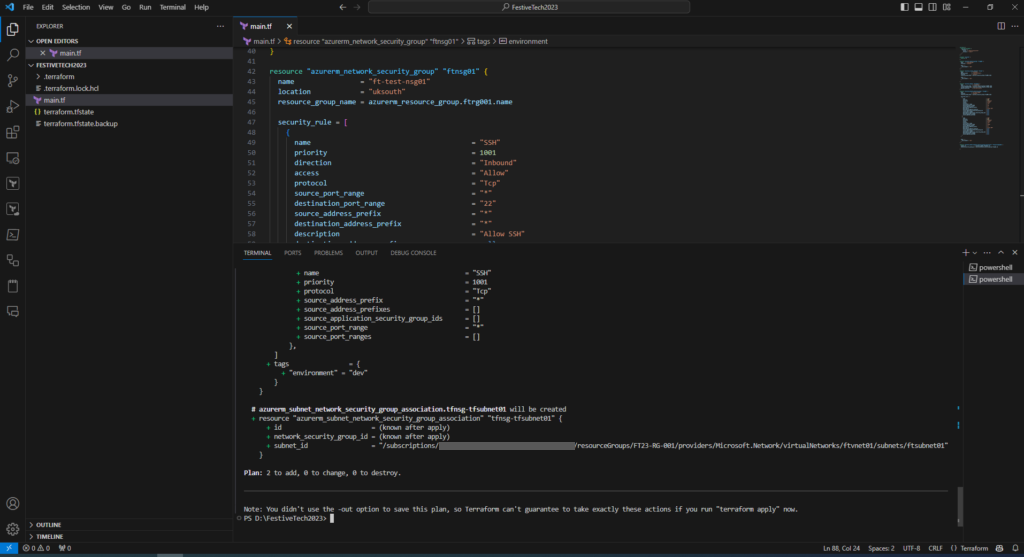
As part of our journey we will be using the following code,
resource "azurerm_subnet_network_security_group_association" "tfnsg-tfsubnet01" {
  subnet_id                 = azurerm_subnet.ftsubnet.id
  network_security_group_id = azurerm_network_security_group.ftnsg01.id

}
Copy both code examples and add them to your main.tf file within Visual Studio Code.
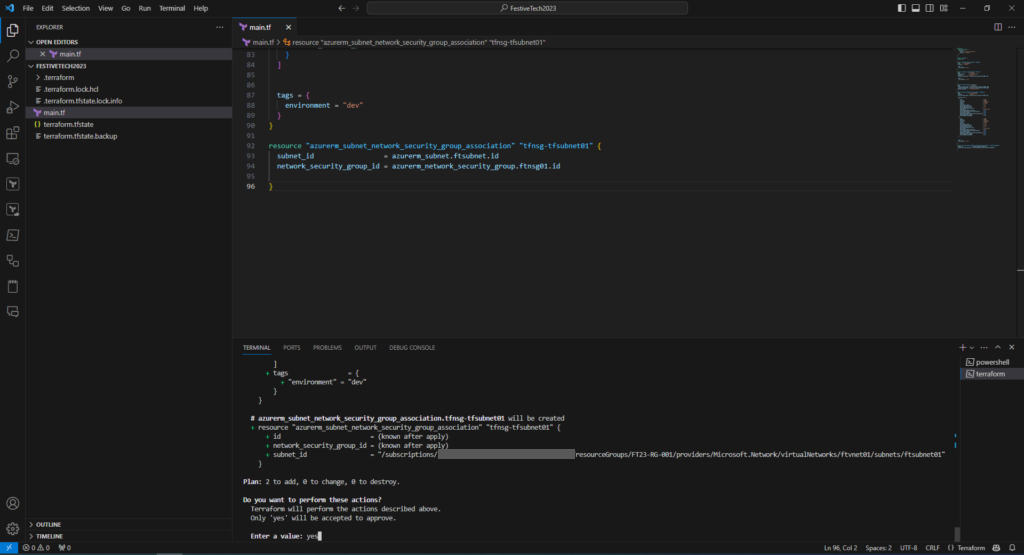
As per the previous blog post in this series, having defined our configuration we will validate, plan and deploy our new resources.
Start by running terraform validate, followed by terraform plan.
Terraform Plan
Terraform plan will confirm you are adding 2 new resources. As we are not making changes to the existing deployed resources no changes will be made to those resources. A explanation of this can be found here under the heading Idempotence.
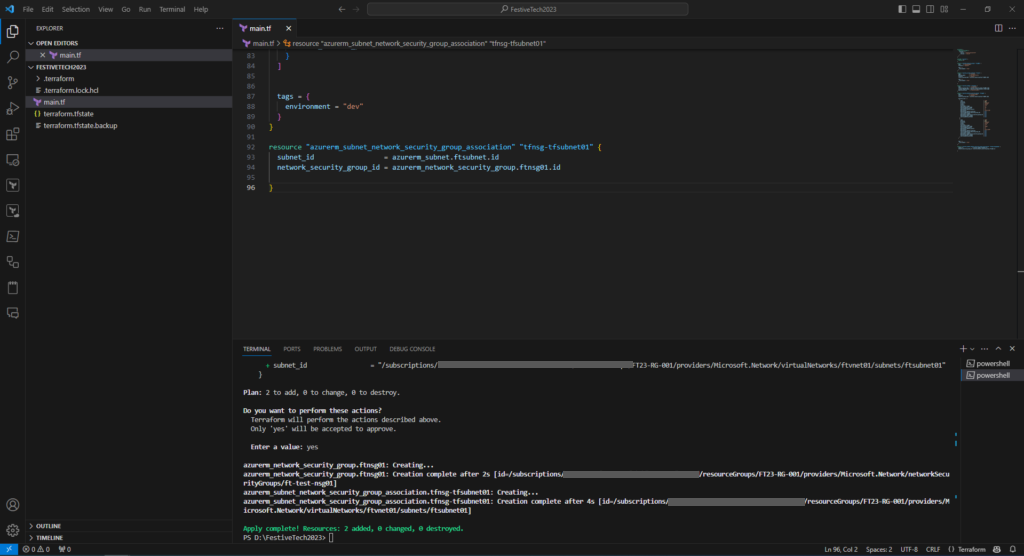
Terraform Apply
To apply the configuration run terraform apply and confirm (type yes) to apply the changes,
The terminal will confirm once the resources have been successfully created.
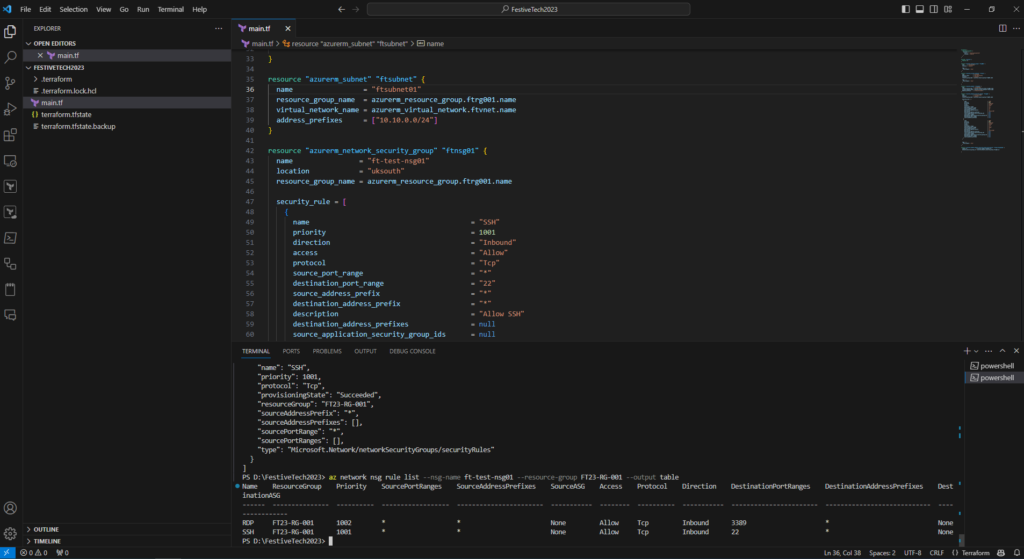
Confirm NSG Creation
To confirm your NSG was created successfully, run the following command,
- az network nsg rule list –nsg-name ft-test-nsg01 –resource-group FT23-RG-001 –output table
Now that you have had a taste of defining and creating Azure resources, the magic of Terraform. The next few blog posts will define additional concepts to aid you in your learning journey. Happy learning.