
In the previous blog post we looked at configuring a custom Log Analytics Workspace for your Defender for Cloud environment.
This post will look at how to onboard your Amazon Web Services (AWS) environment into Defender for Cloud.
Onboarding AWS
With organisations looking at a multi-cloud strategy, Defender for Cloud has been built to protect your workloads that span across multiple environments. Defender for Cloud protects workloads running in,
- Amazon Web Services (AWS)
- Google Cloud Platform (GCP)
- GitHub and Azure DevOps (ADO)
- On-Premises environments.
Defender Cloud Security Posture Management (CSPM) is free for resources running in AWS. Data can also be gathered and assessed from servers, databases and containers running in AWS. Data from these additional services have a cost per server associated with them.
The image below illustrates there the cost when enabling data collection for Servers and Databases
As Microsoft pricing may change over time, please refer to the latest guidance from Microsoft on pricing. Defender for Cloud pricing can be found here.
The following process describes how to on-board AWS,
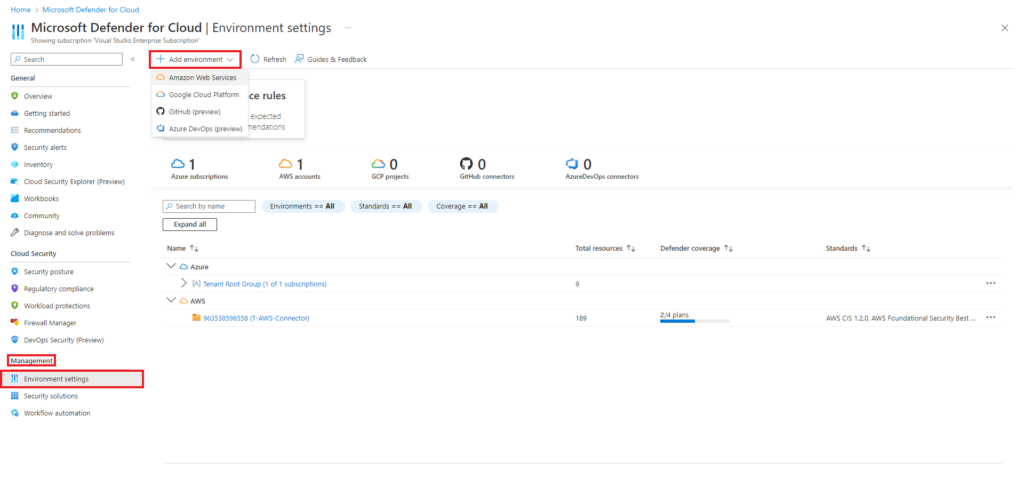
From the home screen for Defender for Cloud navigate to Management, Environment settings, select +Add environment, and select Amazon Web Services.
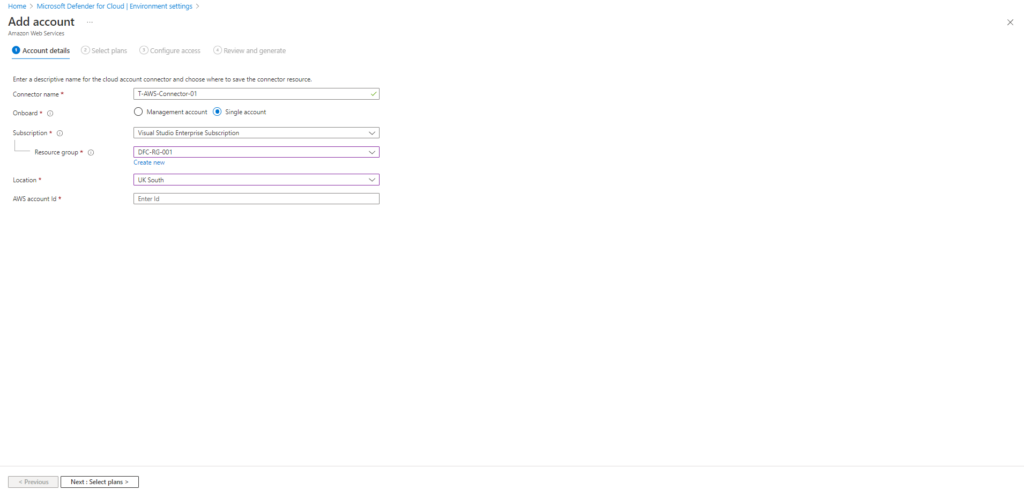
The add account screens requires the following information,
- Connector name
- Onboard – AWS account. you have the option of using a management account or a single account
- Subscription – If you have multiple subscriptions select the one you want to use
- Resource group
- Location
- AWS account ID – AWS account used when creating the connector
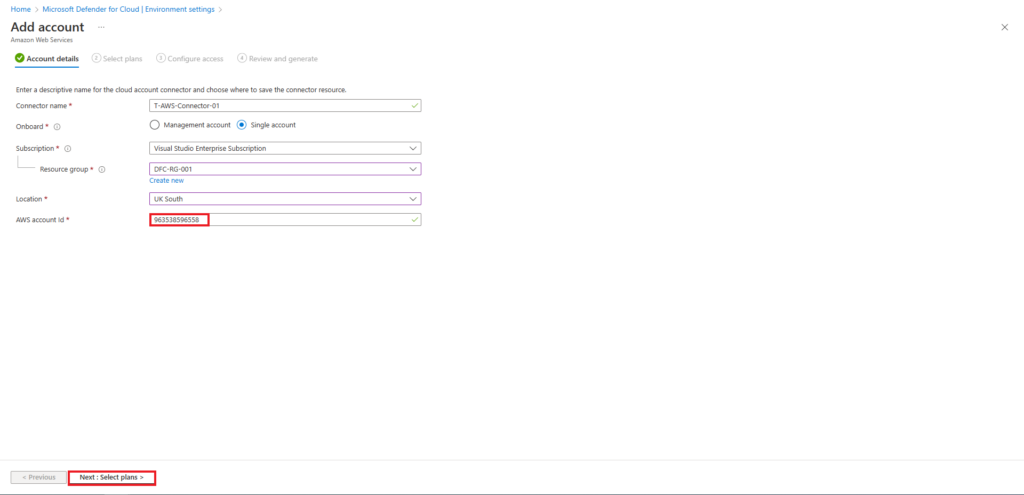
In this example the connector is deployed using a single account. The easiest way to find the account ID is to login to the AWS management console with the account you want to use to create the connector with, and navigate to IAM.
On the right hand side of the screen you are presented with the Account ID information

Copy the account ID and complete the add account information in the Microsoft Defender for Cloud environment settings page, see image below.
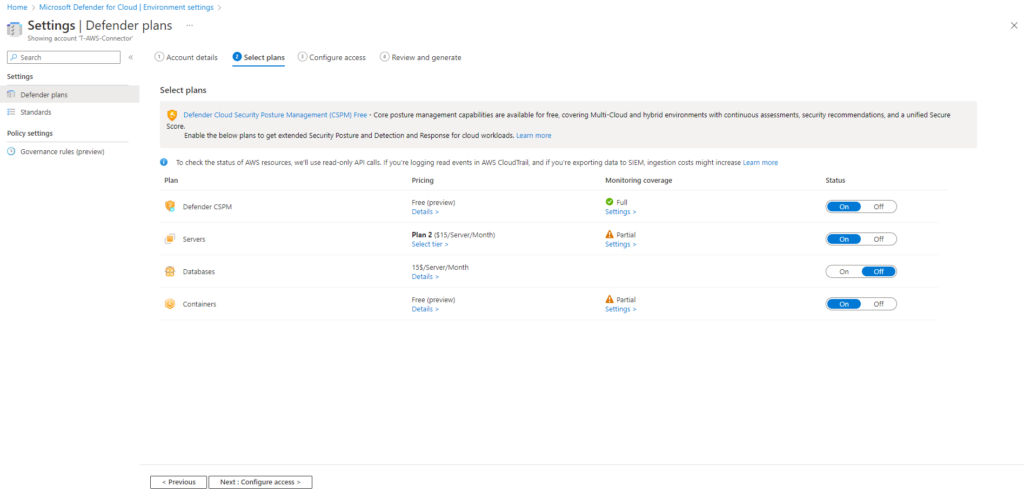
The following allows you to enable the available plans. In this example all plans have been enabled.
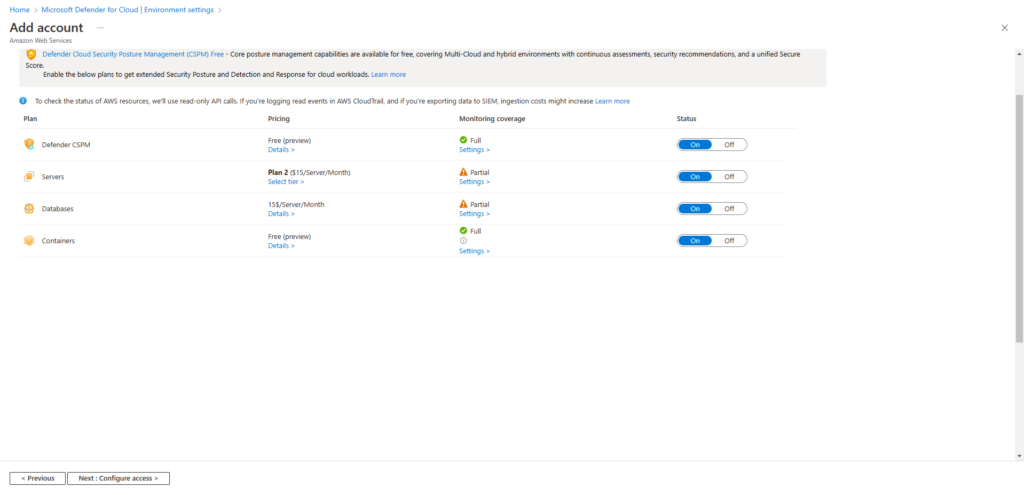
Please note there is a cost, per server, per month for
- Servers
- Databases
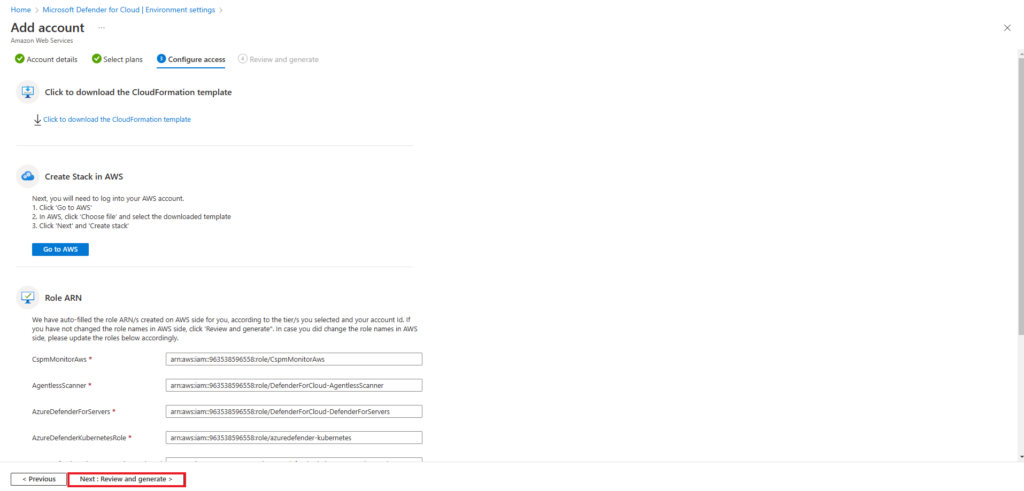
The following page will provide you with a link to download the CloudFormation template that needs to be run within your AWS environment.
Download the template and login to your AWS environment.
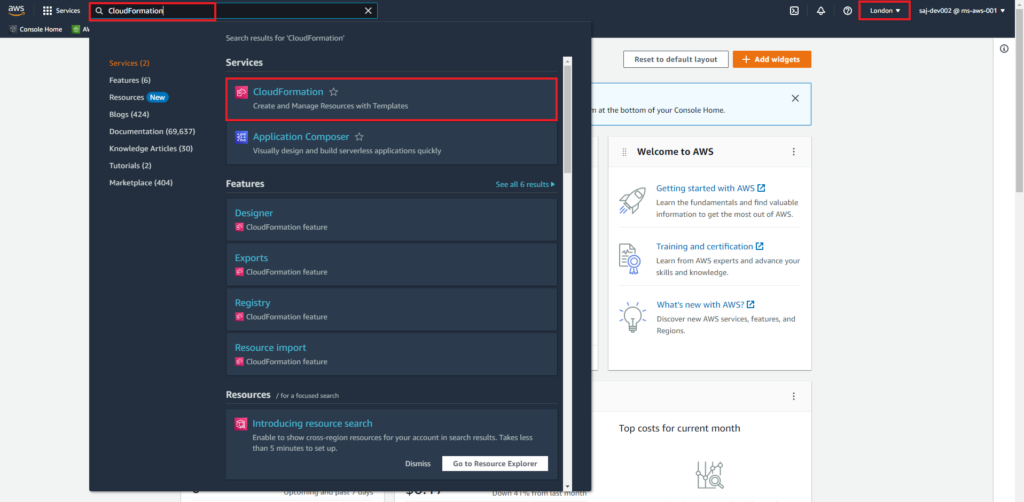
From the AWS console homepage search for CloudFormation and select the CloudFormation service. In the example below the CloudFormation stack will be created in the AWS London region.
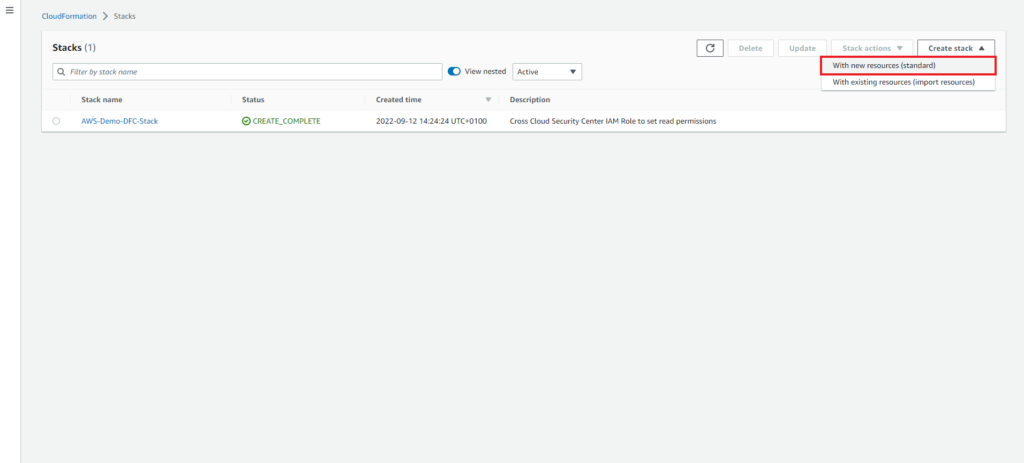
From the CloudFormation > Stacks page create a new stack with new resources (Standard),
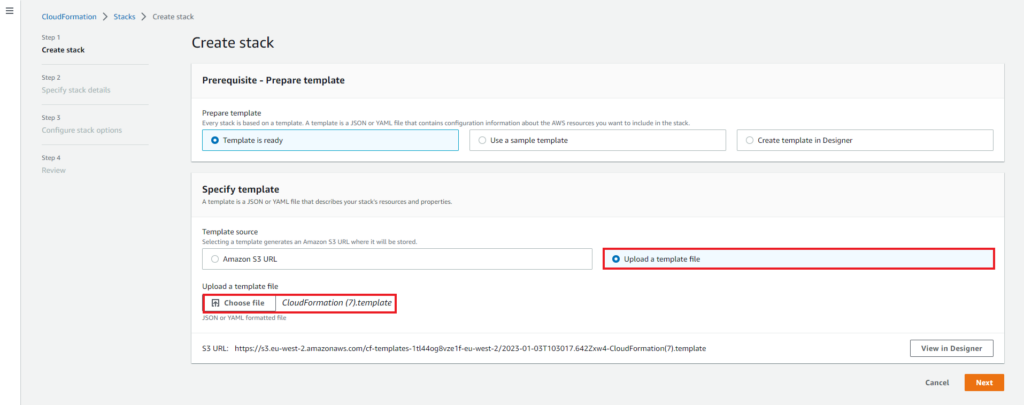
From the create stack page select upload a template file and chose the file that was downloaded in the earlier steps.
On the Specify stack details page give the stack an appropriate name. In this example all other options have been left as default.
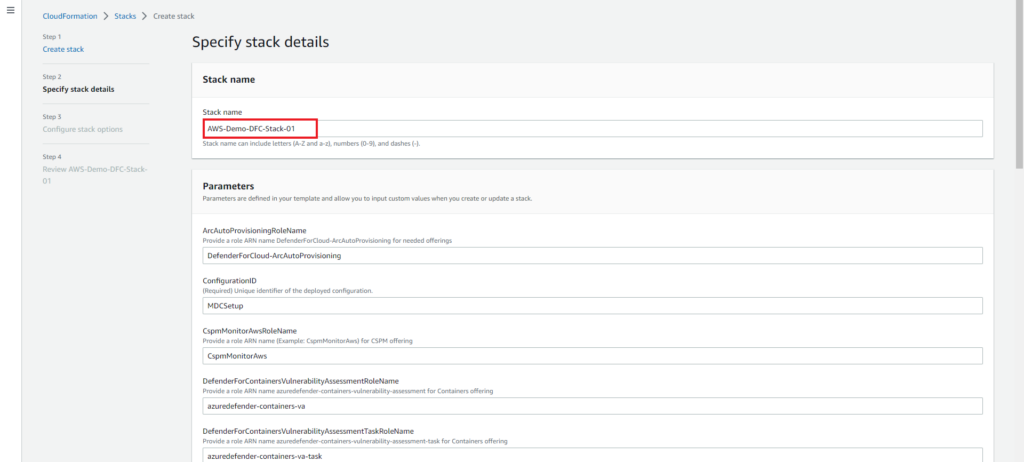
On the Configure stack options page configure any options as needed e.g. add tags if required. In this demo all additional options have been left as default.
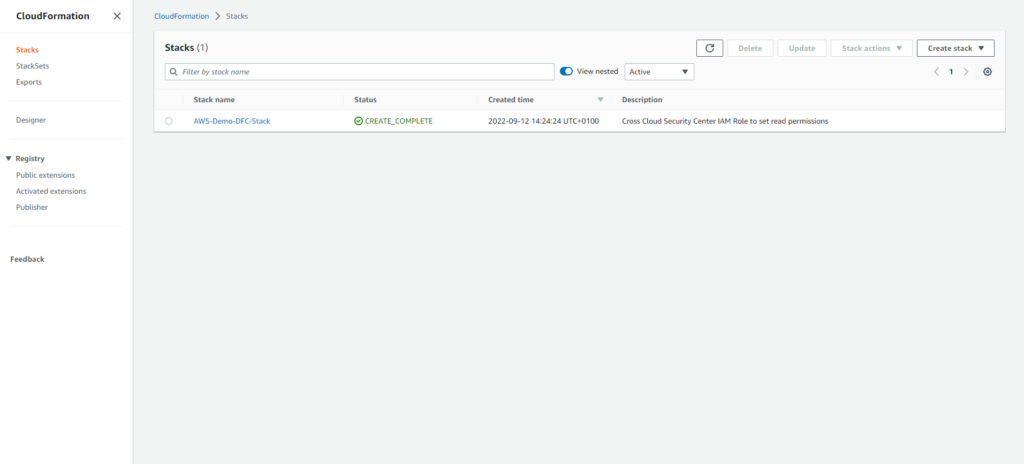
On the review page, once you are happy with the configuration scroll to the bottom of the page, under Capabilities select the acknowledgment and click submit.

After the successful deployment of the CloudFormation Stack, return to the Azure console to complete the AWS onboaring steps.
Review the configuration and select create when done.
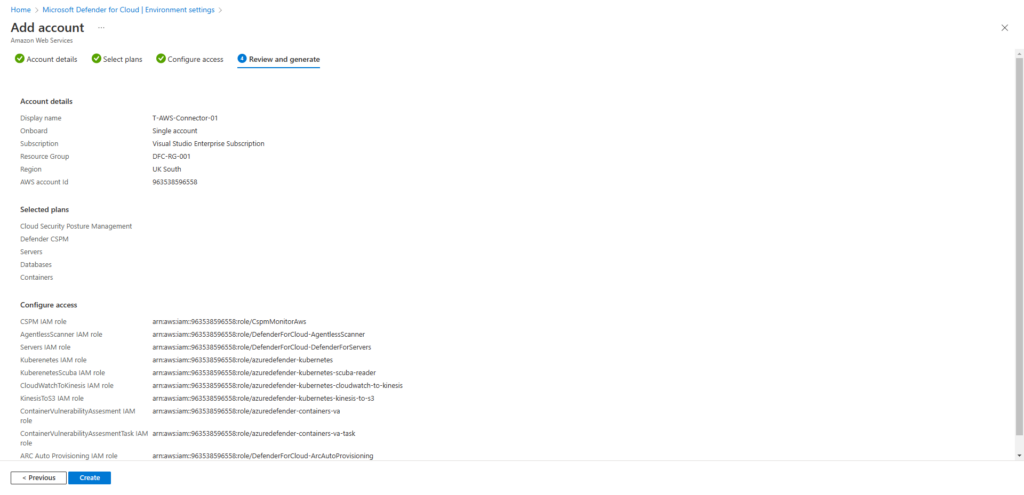
Once created, telemetry from your AWS environment can take up to 24 hours before it is visible within your Defender for Cloud environment to review.
In the next blog post of this series, we will look at the options for onboarding your on-premises environments.
