
Our Terraform saga begins with understanding Terraform Providers, what they are and how you can use them. In this blog post we will focus on explaining the interaction between Azure and Terraform Providers.
Terraform Providers
When learning Terraform you will undoubtedly run into the term provider. In the Terraform narrative, providers are plugins that act as liaisons between Terraform and various cloud platforms, in our case Azure. Azure has a dedicated provider, providing a mechanism for you to connect to your cloud platform and orchestrating the resource creation. Resources you define using HCL.
Azure Provider
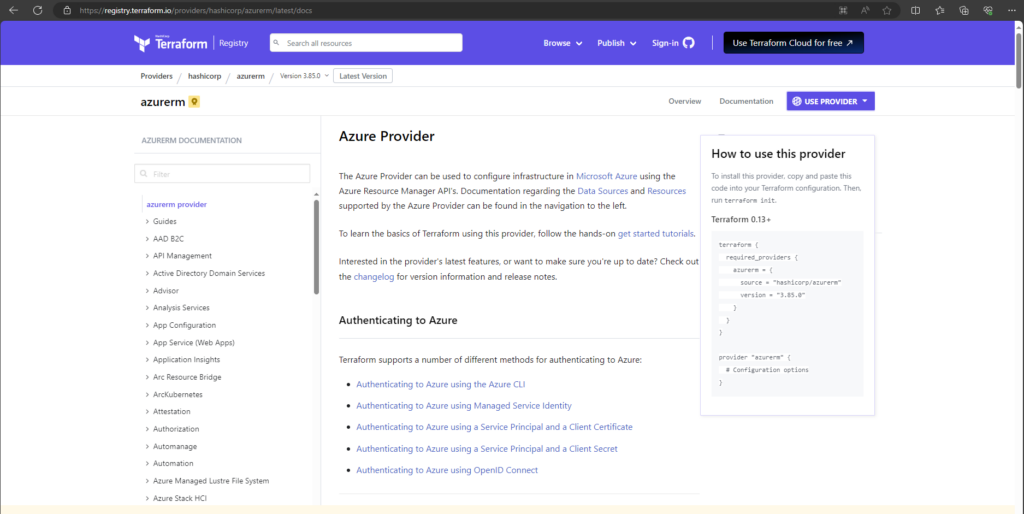
If this is your first time using Terraform and you need to understand what is the minimum requirement when defining a required_providers block. On this journey Terraform documentation is your best friend.
The home page Azurerm documentation details the requirements for the Azure Provider.
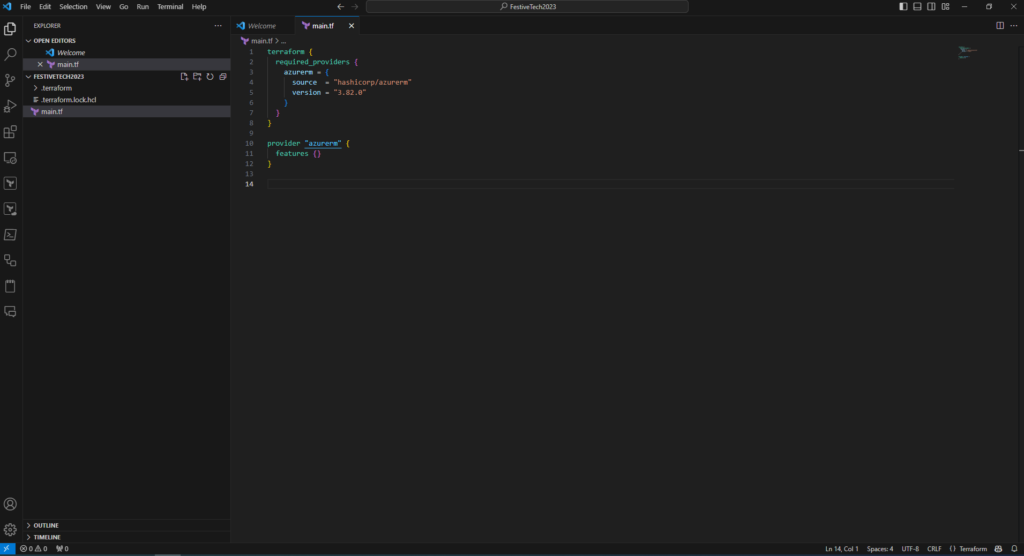
For our test environment we will be using the code defined below
terraform {
  required_providers {
    azurerm = {
      source  = "hashicorp/azurerm"
      version = "3.82.0"
    }
  }
}

provider "azurerm" {
  features {}
}
In our example code we are defining
- The required_provider block
- The source: hasicorp/azurerm
- The version: 3.82.0
- Features: empty features block
We have defined an explicit version 3.82.0 but you can also define a range of version that you are happy to work with, knowing that it will not break your code.
If no version is defined within the provider Terraform will download the latest version during initialisation. Other options are detailed below,
- >= 3.82.0 any version greater than or equal to 3.82.0
- <= 3.82.0 any version less than or equal to the 3.82.0
- ∼> 3.82.0 Any version within the 3.82. range
- >= 3.75.0, <= 3.85.0 is any version between 3.75.0 and 3.85.0
Terraform Initialisation
To make the magic happen we need to define the provider within the required_providers block and initialise. For this we will use Visual Studio Code.
Copy the required code from the code block above and open Visual Studio Code. How to install Visual Studio Code was detailed in the previous blog post of this series.
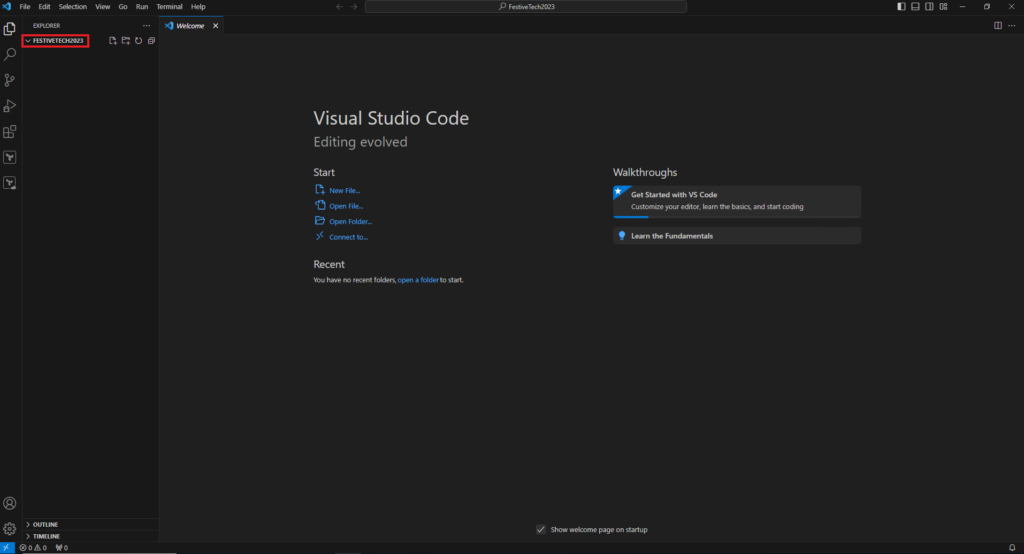
As seen highlighted in red I have created a folder named FestiveTech2023. To the right if that the first icon allows you to create a new file.
The file needs to be named in the following format,
- main.tf
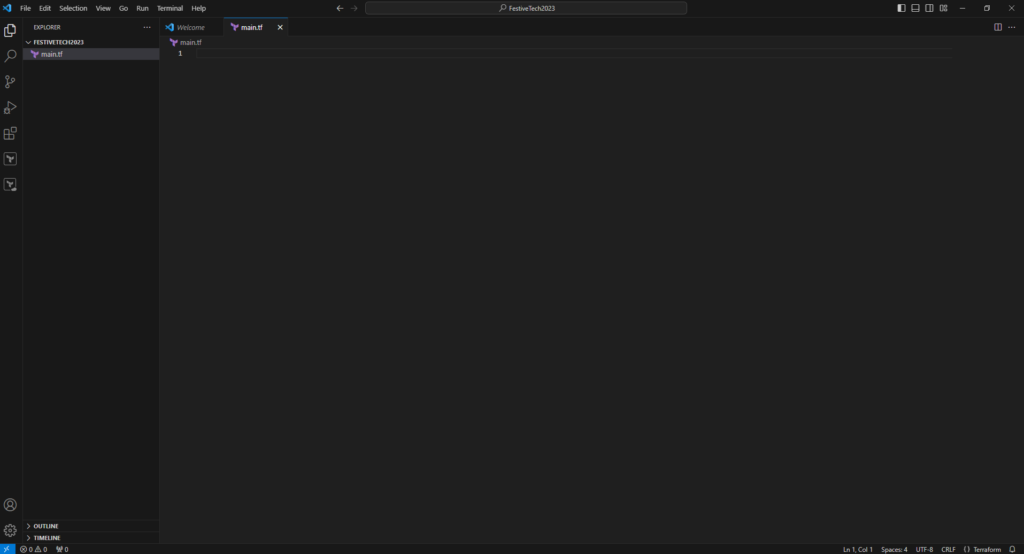
Now paste in the required_providers block code.
To initialise you will need a terminal. Visual Studio Code has a terminal built in that we will use. Select Terminal > New Terminal from within Visual Studio Code,
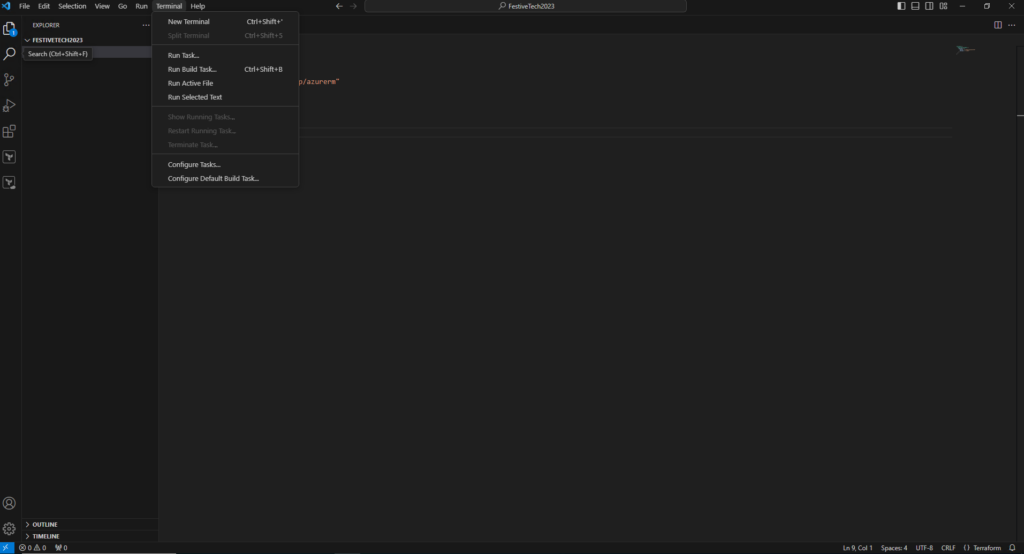
In the terminal window that appears type the following command,
- terraform init
This will initialise Terraform and allow your magical journey to begin.
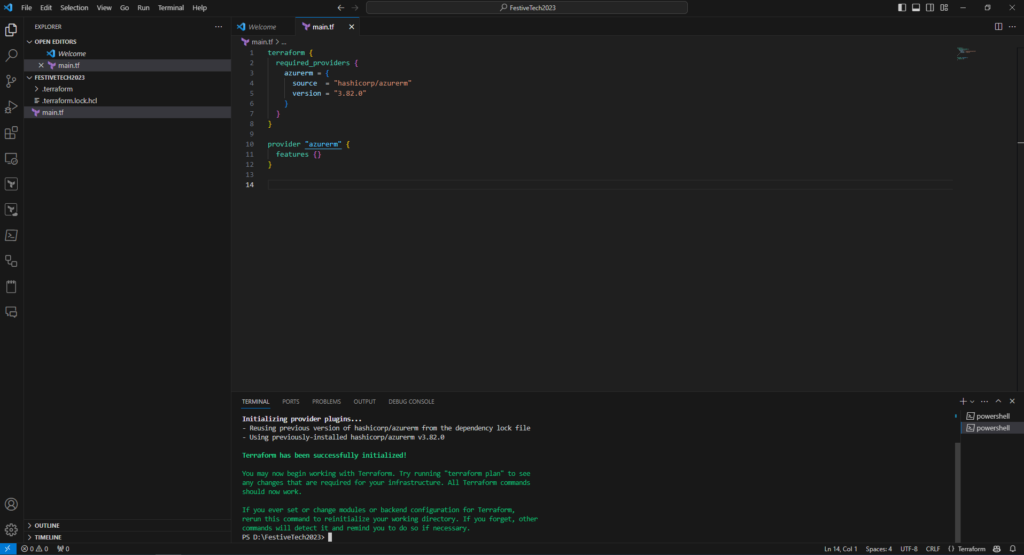
You have now successfully initialised Terraform.
In the next chapter we will define and create out first Azure resource, a resource group. Hope to see you there.