
In these upcoming blog posts, I will be diving into the realm of Terraform, a tool that’s become pivotal in the world of infrastructure as code (IaC). So, what exactly is Terraform?
At its core, Terraform is your go-to mechanism for deploying and managing infrastructure efficiently. Imagine it as the master conductor orchestrating the deployment of resources in a cloud environment, and in our case, specifically within the Microsoft Azure ecosystem.
The focus of the blog series will be on using Terraform to deploy resources within Microsoft Azure ecosystem using the Hashicorp Configuration Language (HCL). HCL is a purpose-built syntax that simplifies the process of defining and configuring infrastructure elements. Think of it as your language for building cloud landscapes.
Visual Studio Code will be used as the code editor of choice for this series and I will rely heavily on the Azure Terraform documentation located here. The documentation is a treasure trove of information, detailing everything from necessary to optional components and providing detailed example code that you can use within your own configuration.
In this the inaugural blog post we will focus on setting up your environment to use Terraform to define and deploy resources within Azure using the Hashicorp Configuration Language.
To follow along you will need access to a test Azure environment. You can sign up for a free account here and comes with free 30 day credit sufficient for what we will cover in this series.
This blog series is written for the Festive Tech Calendar 2023 organised by Gregor Suttie and Richard Hooper AKA Pixel Robots. They are both amazing. I have linked their names to their X (Twitter) handles. Give them a follow.
Installing Terraform
Before you can use Terraform you need to download the binary for your chosen Operating System (OS), unzip the file, copy it to your preferred location and set the environment path.
- Step 1: Use the following link and download it directly from the Hashicorp website. Throughout this series I will be using the Windows 386 Version: 1.6.6

- Step 2: Copy the download Zip file to a folder where you want to save it and unzip the file. I have created a Terraform folder on the root of my D: and unzipped the downloaded file.

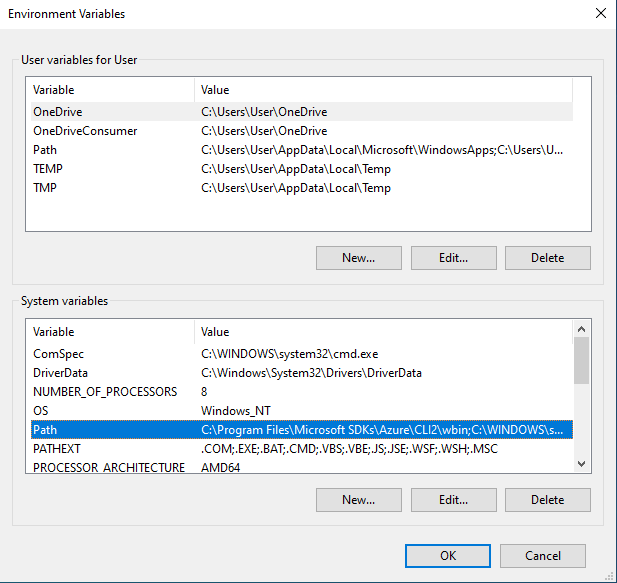
- Step 3: For a seamless experience, ensure that the Terraform executable is added to your system’s PATH. From your Windows Search bar search for environment variables and select “edit the system environment variables”. From the system properties window select environment variables,
- Select path from System variables
- Click the edit button
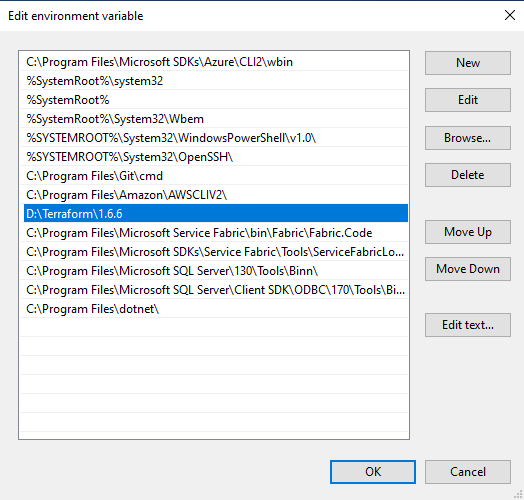
Add the path to your folder where you copied the Terraform file to. In this example it is copied to D:\Terraform\1.66
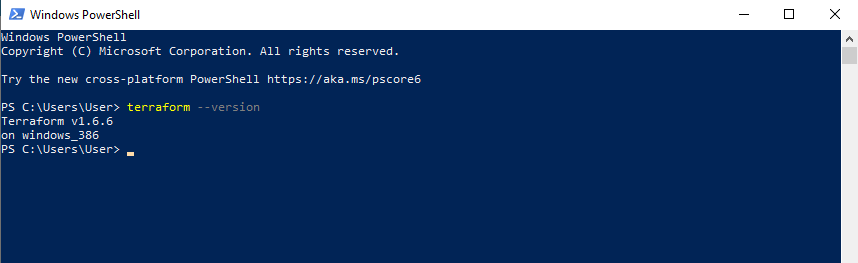
- Step 4: Validate your configuration. To ensure that Terraform can work its magic into your system, open a PowerShell terminal or command prompt and type terraform –version. Behold the inscription of versions and know that you’ve successfully summoned Terraform into your coding arsenal.
Installing Azure CLI
Azure CLI will be used to log into Azure and to validate some of our Terraform deployments. The following Link provides detailed instruction on how to install the Azure CLI for different operating systems.
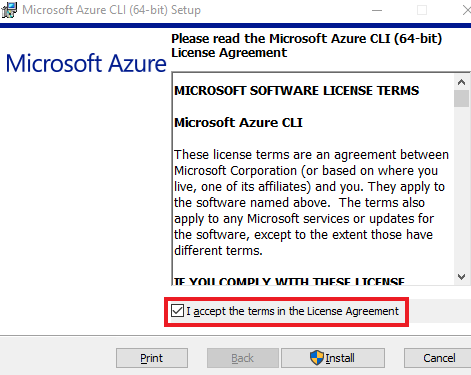
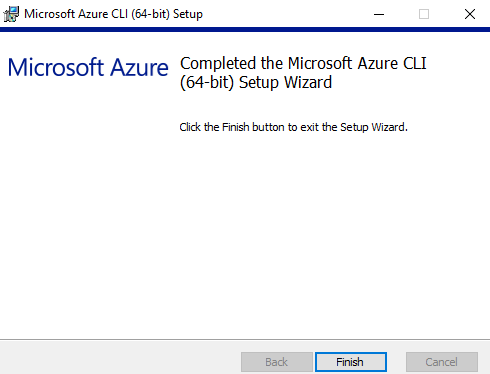
To install the latest version of the Azure CLI using the Microsoft Installer (MSI) down load the latest 64bit version from here and run the MSI.
Configuring Visual Studio Code
To complete your setup and let the festive magic begin you will need and Integrated Development Environment (IDE). The IDE of choice for this blog series will be Visual Studio Code. You can use the following link to download and install the latest version.
From the download page select the correct version for you OS and run once downloaded. For this blog series we will select all the default options when installing,

- Step1: On the license agreement page accept and click next

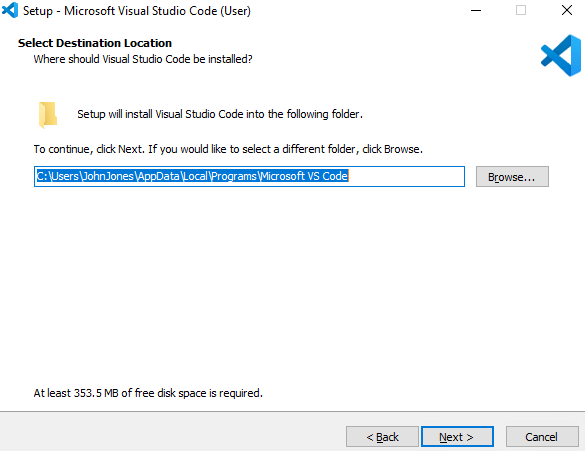
- Step2: Select your install path and click next
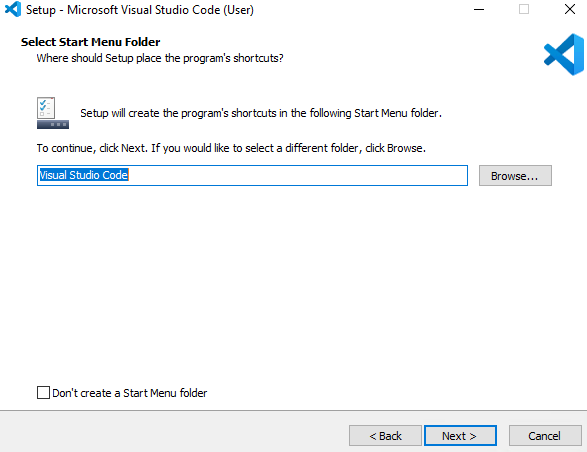
- Step 3: Select if you want a shortcut in your Start Menu Folder
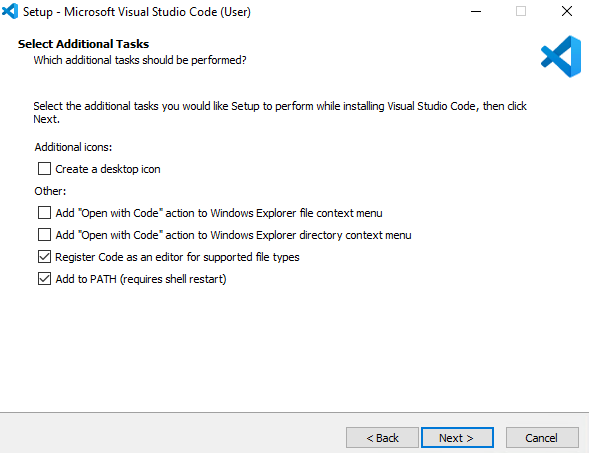
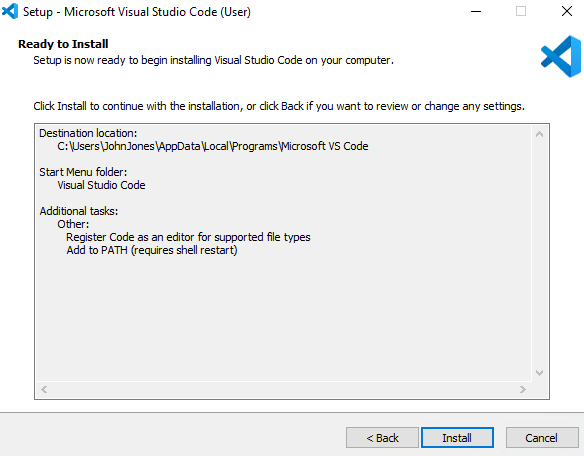
- Step 4: Define any additional tasks that should be performed as part of the install
If you are happy with your choices click install,
Once the installation is complete, run Visual Studio Code Extensions from the sidebar and search for Terraform. We will be installing the Hashicorp Terraform extension to begin our journey into the world of IaC

Hope you enjoyed this inaugural blog. In the following blog posts we will cover,
- Azure Terraform: Part 2 – Azure Providers
- Azure Terraform: Part 3 – Resource Group
- Azure Terraform: Part 4 – Azure Networking
- Azure Terraform: Part 5 – Network Security Groups
- Azure Terraform: Part 6 – Knowledge Review
- Azure Terraform: Part 7 – Terraform State
- Azure Terraform: Part 8 – Terraform Locals
- Azure Terraform: Part 9 – Terraform Variables
- Azure Terraform: Part 10 – Deploy a Windows VM